HTML
Welcome to the course. Over the next fifteen weeks you are going to learn to make a computer do your tedious work for you: scrape a website, rename a thousand files, answer a question from a stack of documents, and serve a page to the whole internet. That idea has a name among programmers: automate the boring stuff. It is the thread running through everything we do. We start on the web, spend the bulk of the term on Python, and finish by building real web applications backed by a database.
Here is how a normal week works. Each topic has a reading like this one, which stands in for a textbook. Most weeks have a lab: a Python file with automated tests attached, graded by a computer, which you resubmit until you score 100%. There is a short quiz most weeks, taken on paper and open-note, bring any notes you like, but no laptops. And every two to three weeks there is a project where you build something real and put it on the internet. There are no exams.
Today has one goal: get you from a blank machine to a webpage you wrote, opened in a browser. By the end of your first project you will have a real site live on the internet with your name on it. Let’s build up to it one piece at a time, starting with the tools.
The tools
Programmers write code in a text editor, not a word processor. A word processor like Google Docs stores fonts, margins, and formatting alongside your words that you never see; a text editor stores exactly the characters you type and nothing else, which is what a computer program has to be. We will use Visual Studio Code (“VS Code”), a free editor that professional programmers actually use.
Install it and open it once before we go further:
- Download VS Code for your operating system from https://code.visualstudio.com/ and install it the way you install any other application.
- Open VS Code. You will see a Welcome tab; you can close it.
- Make a folder somewhere you will find it again (say, a folder called
csci40in your Documents), and in VS Code choose File → Open Folder… and select it. VS Code now treats that folder as your workspace, and the Explorer panel on the left shows its contents (empty for now).
Working out of a folder matters more than it looks. A website is not one file; it is a folder of files that link to each other, and VS Code, your browser, and git all expect to work on that folder as a unit. Get in the habit now of keeping every file for a project inside one folder.
Let’s create the first file. In the Explorer panel, click the New File icon and name it index.html. The .html part is the file extension, and it is a promise about what is inside: a browser that sees .html expects to find HTML. Type a single line into the file so it is not empty:
<p>Hello, world.</p>Save it with File → Save (or Ctrl+S / Cmd+S). An unsaved file in VS Code shows a dot instead of an X on its tab, and the browser reads the file from disk, so an unsaved change is a change the browser cannot see. This is the single most common reason a beginner’s page “doesn’t update”: the file was never saved.
Now open your work. Find index.html in your file manager (not in VS Code) and double-click it, or drag it onto a browser window. The browser shows the words Hello, world. on an otherwise blank page. You wrote a webpage. Keep both windows visible, VS Code on one side and the browser on the other, because the whole loop of web development is this: edit the file, save, switch to the browser, reload.
What a webpage is
That file you opened was just text, and yet the browser knew to show Hello, world. as a paragraph. The reason is the part you typed around the words: <p> and </p>. Those are HTML, which stands for HyperText Markup Language.
The word to notice is markup. HTML is a markup language: you write your content as plain text and then mark it up by wrapping pieces of it in labels that say what each piece is, this is a paragraph, that is a heading, this is a link. You describe what you want; the browser decides how to draw it. This is a different kind of language than the Python we will write later, where you spell out how to do something step by step. Markup is the easier of the two to start with, which is exactly why we start here.
Those labels are called tags, and they are the whole game.
Tags and nesting
A tag is a word between angle brackets, like <p>. Tags almost always come in pairs: an opening tag <p> and a closing tag </p>, identical except for the slash. Together with the content between them, the pair is called an element.
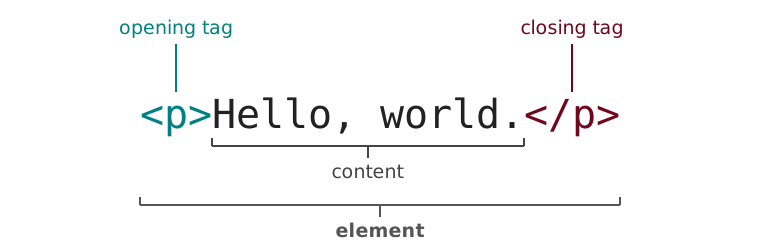
The opening tag says “a paragraph starts here,” the closing tag says “it ends here,” and the browser formats everything in between as a paragraph. Forget the closing slash and the browser has no idea where the paragraph is supposed to stop, so it keeps going, a missing </p> is a bug you will write this week, and now you will know where to look.
The p in <p> is not something you invented; it is one of a fixed vocabulary of tags the browser understands. A few you will use constantly:
- Headings,
<h1>through<h6>, from<h1>(the big title) down to<h6>(a small sub-sub-heading). - Paragraphs of text,
<p>. - Anchors,
<a>, better known as links. - Images,
<img>. - Lists:
<ul>for unordered (bulleted) and<ol>for ordered (numbered), whose items are<li>elements.
Elements can contain other elements, and this is where HTML gets its structure. When one element sits inside another we say it is nested, and the inside element is a child of the outside one. Nesting is how a list holds its items:
<ul>
    <li>automate the boring stuff</li>
    <li>put it on the internet</li>
    <li>get paid</li>
</ul>
The <ul> element opens, three <li> children live inside it, and then the <ul> closes. The indentation does nothing to the browser, which would render the list identically on one line, but it does everything for you: lining up each opening tag with its closing tag is how you keep track of what is inside what. Notice that the tags nest cleanly: each <li> opens and closes entirely inside the <ul>, never crossing over its boundary. Tags that overlap instead of nesting (<ul><li></ul></li>) are the second bug you will write this week.
This vocabulary-of-tags idea is common enough to be a joke among programmers.
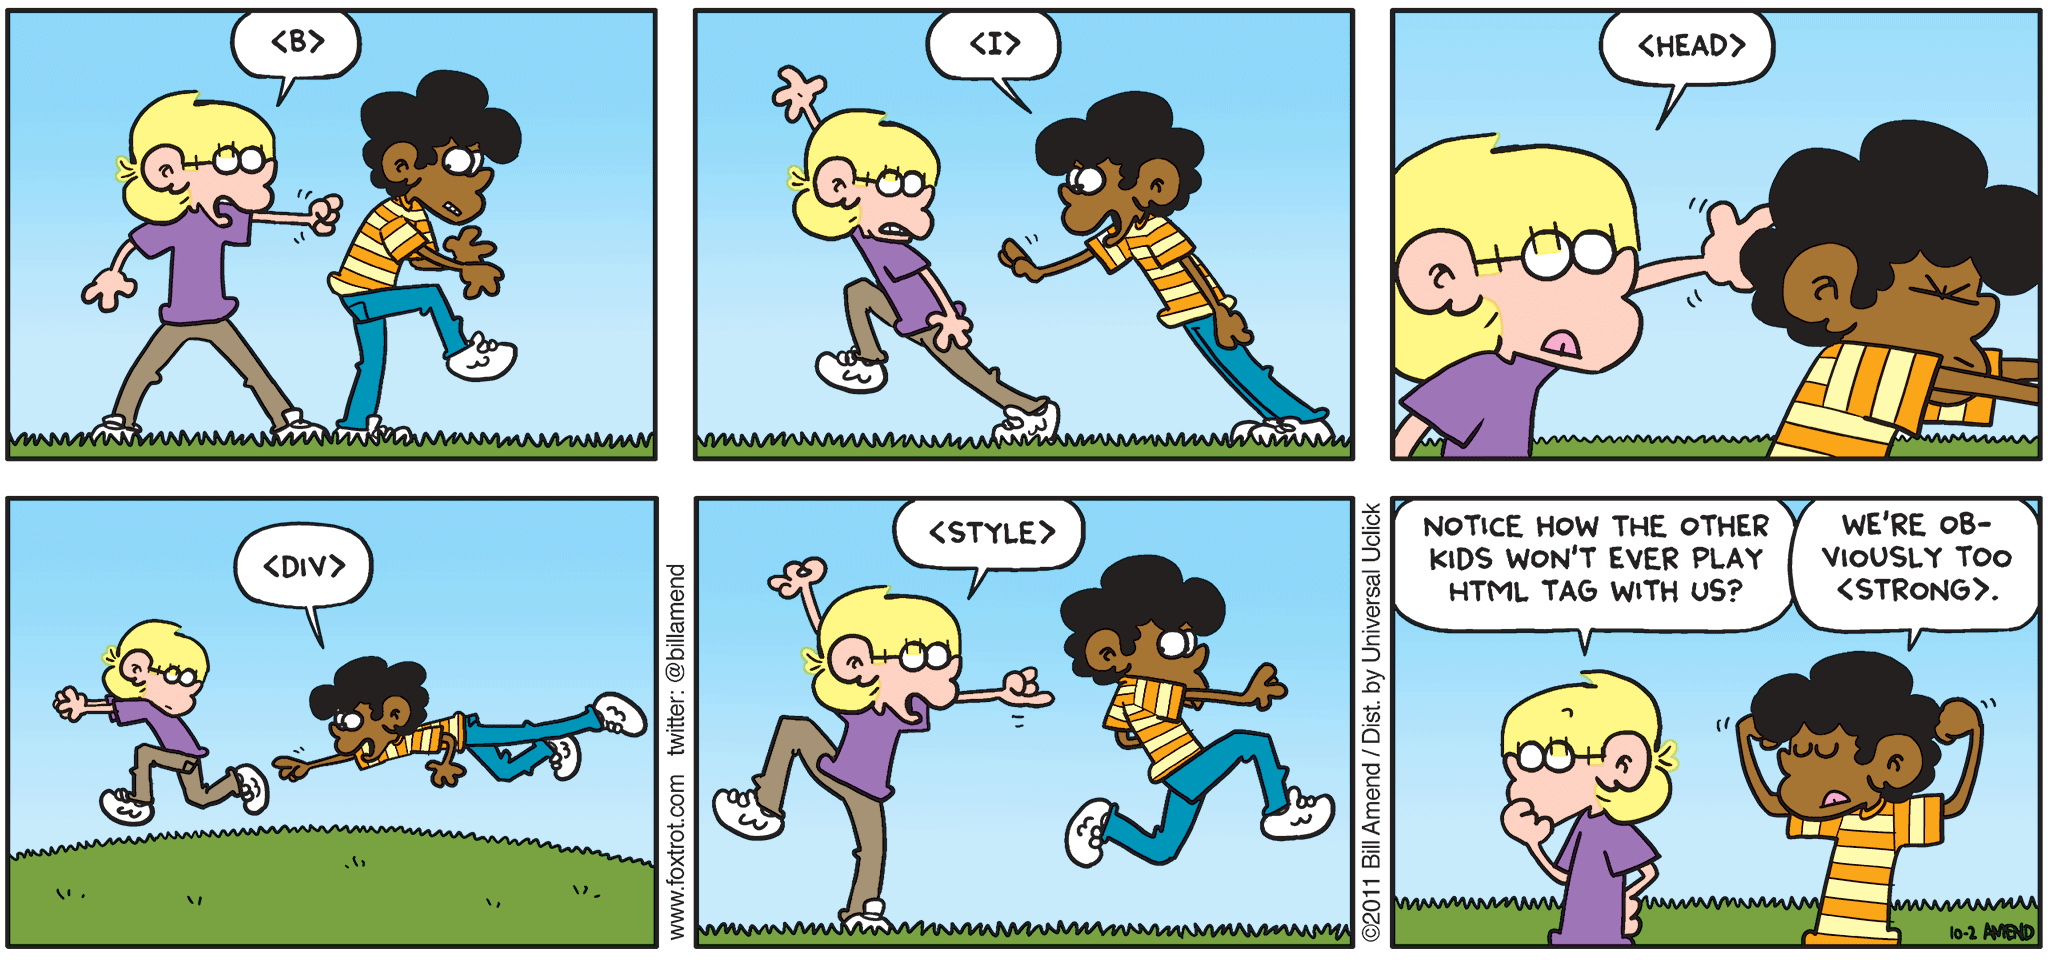
(If a couple of those tags are new, that is fine, <strong> makes text bold, <div> is a generic box we will lean on hard once we get to CSS. The joke still works.)
The skeleton of a page
Our one-line file worked, but a real HTML page has a standard skeleton around the content, and every page you write this term will start from it. We will build it up one layer at a time.
First, tell the browser what kind of file this is and wrap the whole document in a single <html> element:
<!DOCTYPE html>
<html>
</html>
The first line, <!DOCTYPE html>, is a declaration that reads “this is modern HTML.” It is not a normal element and has no closing tag; treat it as a required first line and move on. Everything else on the page nests inside the one <html> element.
An HTML document has two parts, and they become its two children: a <head> for information about the page, and a <body> for the content you actually see. Putting them together gives the skeleton every page starts from:
<!DOCTYPE html>
<html>
    <head>
        <title>My First Page</title>
    </head>
    <body>
        <h1>My First Page</h1>
        <p>Hello, world.</p>
    </body>
</html>
Read it from the outside in. The <head> holds the <title>, which is the text the browser shows in the tab and the name a search engine prints, though it is not shown on the page itself. The <body> holds what appears in the window: here an <h1> heading and a <p> paragraph. Paste this into index.html, save, and reload the browser: the tab now reads My First Page, and the page shows a large heading above your paragraph. Change a word between two tags, save, reload, and watch it change. That edit–save–reload loop is web development.
Can you predict what happens if you move the <h1> line above the <body>, into the <head>? Try it. The browser is forgiving and will often still show your text, but you have told it something false about your page, and once we add CSS and search engines to the picture, lying to the browser starts to cost you.
Links and images
Two elements turn a page into part of the web: the link and the image. Both introduce a new idea, the attribute, extra information written inside the opening tag as name="value".
A link is an <a> element whose href attribute says where it goes:
<a href="https://rtealwitter.com">my webpage</a>The text between the tags, my webpage, is what the reader sees and clicks; the href is the destination they are sent to. Swap the destination and the visible text stays the same, which is worth remembering the first time a link sends you somewhere surprising: the words and the href are independent.
An image is an <img> element, and it is unusual in two ways:
<img src="cat.jpg" alt="a photo of my cat">First, it has no closing tag and no content between tags, because the content is the file it points to, so there is nothing to wrap. Second, it carries two attributes that matter: src, the filename or URL of the image, and alt, a text description. The alt text is what a blind reader’s screen reader speaks aloud and what shows if the image fails to load, so it does real work: it keeps your page usable by people who cannot see the image. We will come back to accessibility, but start the habit now: every <img> gets real alt text.
Looking forward
You can now build a page: a skeleton, headings and paragraphs in the body, lists, links, and images. That is genuinely enough to build Project 0, where you will make a small site and publish it to the internet for real, backlinks and all.
What you cannot do yet is make it look like anything. Every page we have written is black text on a white background in the browser’s default font, because HTML only says what each piece of content is, never how it should look. That second half, colors, fonts, layout, spacing, is a separate language called CSS, and it is next class. For now, keep a few references within reach as you work: this HTML cheatsheet for the tags, the matching CSS cheatsheet for next week, and Shay Howe’s Learn to Code HTML & CSS when you want the fuller story. No programmer keeps every tag in their head; keeping the reference open is the job, not a crutch.