Lab: More Project Setup
Starter code: github.com/rtealwitter/lab-more-project-setup
This lab picks up the LLM chat program from this week’s reading and turns it into something you can trust, grade, and share. You will learn how to write test cases for your test cases, how to get an LLM working inside GitHub Actions, and how to let anyone in the world pip install your project. There is more to shipping a project than writing the code, as Boromir reminds us:
The hardened chat.py you finish here becomes the basis of your next project, docchat.
Getting the code
This lab continues from the chat.py you wrote following the reading, and you are encouraged to keep building on your own copy. If your code is not working for whatever reason, the starter repository above includes a reference chat.py you can start from instead.
Fork the starter repository, github.com/rtealwitter/lab-more-project-setup, to your own account with the Fork button.
Clone your fork and open the folder in VS Code:
$ git clone https://github.com/<your-username>/lab-more-project-setup
$ cd lab-more-project-setup
Testing your tests
So far we have used doctests to check that our code is correct, and those doctests have mostly been handed to you. Soon you will write your own, which raises a question: how do you know your doctests are any good? The idea sounds circular until you see the tool for it:
The tool is code coverage. The idea is short: run the doctests, count the lines Python actually executed while running them, and treat any line that never ran as a line no test has checked. Then you write more tests to cover those lines.
Start by installing three libraries:
$ pip install pytest coverage supply-chain-attack-pocWhat they do:
pytestis the standard testing library for Python; every advanced testing technique beyond plain doctests is built on it.coveragemeasures which lines your tests run, which is how we will judge whether the tests are good enough.supply-chain-attack-pocis a proof-of-concept package that plays the Rick Astley video when you install it. pypi.org is the package repositorypipdownloads from, and anyone can upload anything to it. Installing this one was harmless, but you just gave its author the ability to run any code on your machine; this is exactly how malware reaches programmers and how companies get hacked. By the end of this lab you will upload a package of your own.
NOTE: PyPI stands for the Python Package Index, officially pronounced “pie-pee-eye.”
With those installed, run the coverage tool on your chat program:
$ coverage run -m pytest chat.py --doctest-modules
================================= test session starts =================================
platform linux -- Python 3.13.5, pytest-9.0.2, pluggy-1.6.0
collected 1 item

chat.py .                                                                       [100%]

================================== 1 passed in 1.26s ==================================
Coverage runs your doctests as it measures them, so those doctests need to be passing for any of this to mean anything.
WARNING: This command creates a file called
.coverage. That is a file we do not want in the repo, and you will lose points if it ends up on GitHub, so add it to your.gitignore.
View the results with a report:
$ coverage report -m
Name      Stmts   Miss  Cover   Missing
---------------------------------------
chat.py      24      9    62%   58-66
---------------------------------------
TOTAL        24      9    62%
The number that matters is 62%: only 62% of the lines in chat.py were run by the doctests (your exact number will differ, and that is fine). To see which lines, generate the HTML report and open it:
$ coverage html
Wrote HTML report to htmlcov/index.html
Click through to chat.py, and the tested lines are green while the untested lines are red:
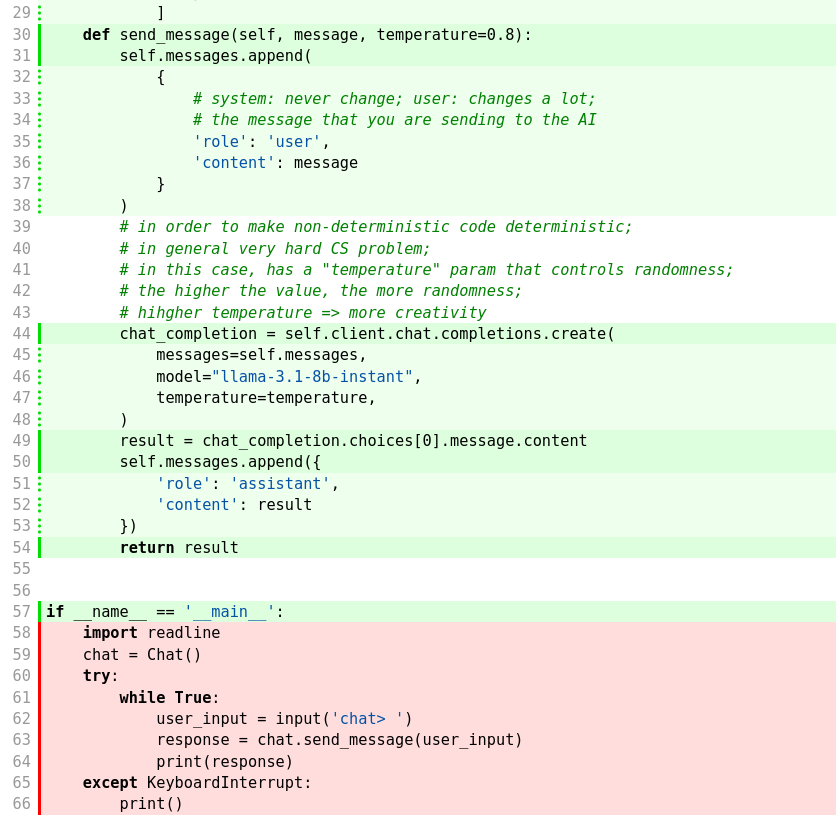
The Chat class is all green, because its doctests exercise every line, and since those doctests pass we know the class does what we want. The red lines are the REPL loop at the bottom:
    import readline
    chat = Chat()
    try:
        while True:
            user_input = input('chat> ')
            response = chat.send_message(user_input)
            print(response)
    except (KeyboardInterrupt, EOFError):
        print()
We tested this by hand in class, but we have no automatic test for it, and automatic tests are what let you prove the code works without anyone having to run it (I never run other people’s code, precisely because I do not want to be rickrolled). So our goal is a test that proves the REPL works.
First, refactor the REPL out of the if block and into its own function:
def repl():
    import readline
    chat = Chat()
    try:
        while True:
            user_input = input('chat> ')
            response = chat.send_message(user_input)
            print(response)
    except (KeyboardInterrupt, EOFError):
        print()


if __name__ == '__main__':
    repl()
Now the untested code has a name, and we can write doctests for repl. Try writing one yourself before reading on; you will hit the reason it is hard almost immediately.
Monkey patching
The trouble is that repl calls input, which reads from the keyboard, and there is no keyboard when doctests run. Every function we have tested before took its input through parameters, which a doctest can supply directly; input reaches outside the function for data we cannot pass in.
The fix is monkey patching: temporarily replacing one function’s behavior from outside it. We are going to replace the built-in input with our own version that feeds the REPL a script of fake keystrokes (the term is real even if the picture is a pun):
Open interactive Python and confirm that input works normally:
>>> x = input('chat> ')
chat> hello world
>>> print(x)
hello world
Now define your own monkey_input and overwrite input with it:
>>> def monkey_input(prompt):
...     user_input = 'hola mundo'
...     print(f'{prompt}{user_input}')
...     return user_input
>>> input = monkey_input        # this is the monkey patch
>>> x = input('chat> ')
chat> hola mundo
>>> print(x)
hola mundo
After the patch, every call to input runs our version instead of the built-in one.
Two subtleties stand between this and a working test. First, a monkey_input that always returns the same string would loop forever, since the REPL only stops on a KeyboardInterrupt. A better version reads down a list of scripted inputs and raises KeyboardInterrupt when it runs out:
def monkey_input(prompt, user_inputs=['Hello, I am monkey.', 'Goodbye.']):
    try:
        user_input = user_inputs.pop(0)
        print(f'{prompt}{user_input}')
        return user_input
    except IndexError:
        raise KeyboardInterrupt
Second, a plain input = monkey_input inside a doctest will not actually change what repl calls. The input name inside the doctest lives in a different frame from the input that repl uses, so reassigning one does not touch the other. To patch it everywhere, modify the built-in directly through the builtins module:
>>> import builtins
>>> builtins.input = monkey_input
Put both pieces together, and the docstring for repl looks like this:
'''
>>> def monkey_input(prompt, user_inputs=['Hello, I am monkey.', 'Goodbye.']):
...     try:
...         user_input = user_inputs.pop(0)
...         print(f'{prompt}{user_input}')
...         return user_input
...     except IndexError:
...         raise KeyboardInterrupt
>>> import builtins
>>> builtins.input = monkey_input
>>> repl()
'''
Run the doctests and read the real output to fill in what repl prints, and remember to pin temperature=0 somewhere so that output is reproducible. With the test in place, rerun coverage:
$ coverage run -m pytest chat.py --doctest-modules
$ coverage report -m
Name      Stmts   Miss  Cover   Missing
---------------------------------------
chat.py      26      1    96%   79
---------------------------------------
TOTAL        26      1    96%
One line left uncovered, and a much higher percentage. Pushing coverage this high is slow, careful work, and on real projects 100% is usually not worth the effort:
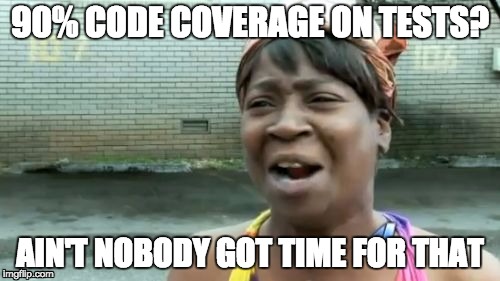
Higher is always better; aim for good, not perfect.
API keys in GitHub Actions
If you do not already have a GitHub repo for this project, create one and push your code (committing and pushing often is a habit every good developer keeps). Now add a GitHub Action that runs your doctests on every push.
The action will fail, and the reason is worth understanding: the runner has no GROQ_API_KEY, but your doctests need it to reach the API. That is the good kind of failure to have; the bad kind looks like this:
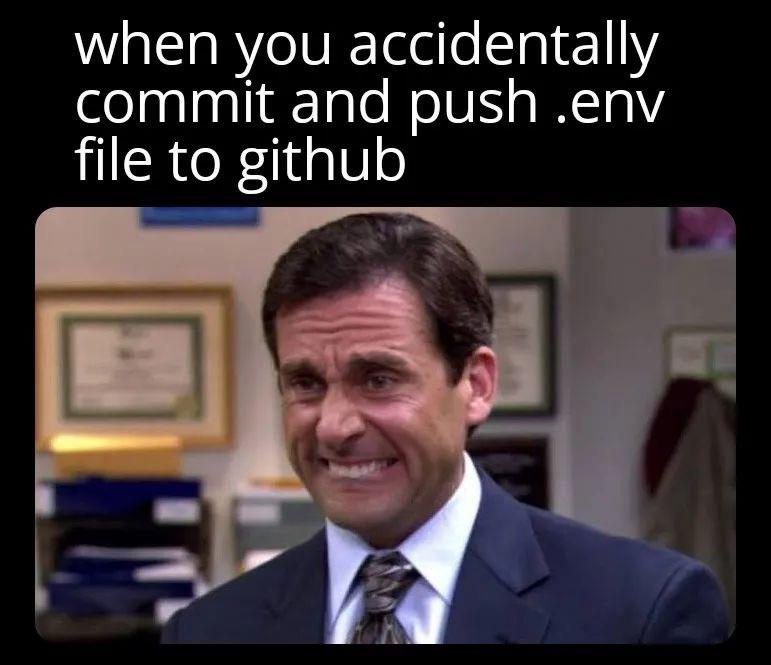
We already know never to put the key in the repo, which is exactly what makes continuous integration awkward: the tests must reach Groq, but the secret cannot ride along in git. GitHub’s answer is Secrets, encrypted values stored on the repo that a workflow can read at run time. These next steps follow GitHub’s own documentation, which is written for professional developers rather than for this class, so you may have to adapt it slightly to your code; learning to follow real-world docs is part of the point of the lab.
- Store your
GROQ_API_KEYas a repository secret: Using secrets in GitHub Actions. - Modify your action to load that secret into an environment variable: the same guide, “Using secrets in a workflow”.
Once the doctests pass in the action, add the coverage commands to it as well:
$ coverage run -m pytest chat.py --doctest-modules
$ coverage report -m
This prints your coverage in the action’s log. Part of your grade is that the action shows greater than 90% coverage.
Publishing to PyPI
Anyone can upload a project to PyPI, and that includes you. Follow this tutorial to publish yours; it is long, so skim for the parts you need rather than doing every step. The parts that matter:
- You will write a
pyproject.tomlthat declares a script pointing at yourchat.py. Name the scriptchat, and that becomes the command people run after installing your package. - A tool called
twinedoes the actual upload. - PyPI names are global, so pick a unique one, for example
docchat-<yourname>.
WARNING: The upload tools scatter many generated files across your project, none of which belong in the repo. GitHub keeps a maintained
Python.gitignorethat already ignores them; consider using it.
Once it is live, try getting a friend to install your package from PyPI (not graded, but satisfying).
Integration tests
Doctests are unit tests: each one checks a single unit of the program, like one function or class, in isolation. An integration test runs everything together, end to end, through the same interface a real user sees, to check that the units actually work with one another.
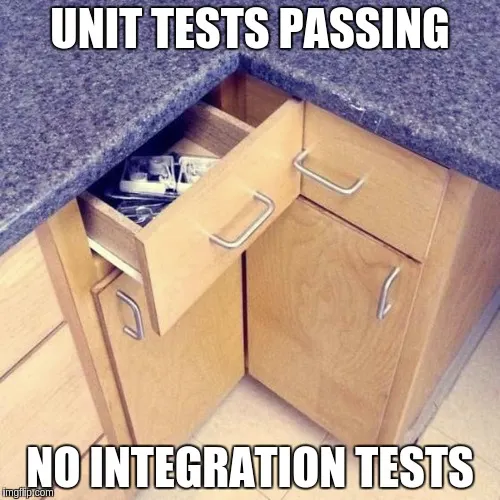
Here is a simple integration test for this project:
$ pip3 install <your-library-name>
$ chat <<'EOF'
I am bob.
What is my name?
EOF
It installs your package from PyPI and runs the chat command on two scripted lines. It does not check the exact reply (a fancier test could), only that the whole thing installs and runs without error, which is enough for us. When the two piped-in lines run out, input() raises EOFError; that is why your repl catches EOFError alongside KeyboardInterrupt, so the program ends cleanly instead of crashing this test. Add a second GitHub Action, called integration-tests, that runs it.
NOTE: Terminal programs are easy to write integration tests for, which is one reason programmers like them. A web or mobile app is much harder, because you have to drive a mouse around and then check for errors after every click.
Submitting
This lab is graded like every other: the tests either pass or they do not, and you resubmit until they are green. Your README.md must have:
- A green doctest badge, with the corresponding action showing greater than 90% coverage.
- A green integration-test badge.
- A one-to-two-sentence description of your project.
- A link to your PyPI project page, and that page must show your README (so your badges appear on PyPI too).
Remember that you lose points for any unnecessary files in the repo, so check your .gitignore one more time. When both badges are green, submit the URL of your repository on Gradescope.