Lab: Rosetta Stone
Starter code: github.com/rtealwitter/lab-formats
The Rosetta Stone is one rock with the same decree carved into it three times, in three scripts, because three different audiences needed to read it. Your data has the same problem. A running program keeps everything as dicts and lists and strings in memory, but the moment that data has to leave, to be saved to a file, sent across a network, or handed to a program someone else wrote, it has to be flattened into flat text that anything can read back. That flattening is called serialization, and reading it back in is called parsing; this lab is about doing both, in every format you are likely to meet.
The reading made the central point that the format you reach for almost never depends on what your data is. The same little list of tweets can go out as JSON, YAML, TOML, or CSV. What decides is who reads it next, another program, a person editing a config file, or a spreadsheet, and underneath they are all just text. This lab is a set of small functions that move the same social dataset, the tweets and configs from the reading, back and forth between all four formats, and run face-first into the places each one surprises you.
The whole course is about automating the boring stuff, and nothing is more boring than retyping data by hand because two programs disagree about how to write it down. Get these functions into your fingers and that entire category of chore disappears.
Getting the code
Fork the starter repository, github.com/rtealwitter/lab-formats, to your own account with the Fork button.
Clone your fork and open the folder in VS Code:
$ git clone https://github.com/<your-username>/lab-formats
$ cd lab-formats
Two of the functions use PyYAML, which is not part of the standard library, so install it once:
$ pip install pyyaml
The json, csv, and tomllib modules are all built in, so there is nothing else to install. (One exception: tomllib only joined the standard library in Python 3.11, so if you are on 3.10 or earlier, also run pip install tomli, which is the very same module under its old name. The starter imports whichever one you have.)
The file is lab_formats.py, about ten short functions with blank bodies and doctests. The loop is the same as every doctest lab: read a function’s doctests, write its body, run python3 -m doctest lab_formats.py, and repeat until the command falls silent.
JSON, both directions
Start with the format everything else is measured against. Two functions do the whole job. from_json takes a JSON string and hands back Python objects; to_json takes Python objects and hands back a JSON string. That is the pattern to burn in: the reading called them “load string” and “dump string”, and the s on the end is the whole distinction. json.loads and json.dumps work on strings; json.load and json.dump (no s) work on open files. Mixing them up is the single most common JSON bug, so slow down and get it right.

Your to_json should pass indent=2. That is not decoration: printing nested data as indented JSON is the fastest way to see the shape of a response you did not write yourself, and you will lean on it all term. Pass sort_keys=True as well, so the output does not depend on the order the dict happened to be built in, which is what makes the doctest deterministic:
>>> print(to_json({'username': 'Trump', 'text': 'hello'}))
{
  "text": "hello",
  "username": "Trump"
}
Then roundtrip_json proves the two functions are really inverses: dump an object to text, load it back, and check you got an equal object. Most data survives untouched, but the doctest also pins one case that does not. JSON object keys are always strings, so an integer key like 1 comes back as the string '1', and the round-trip is no longer equal, a small surprise worth meeting in a test rather than in production. Finally, count_keys is a one-liner on the number of top-level keys in a dict; it is here to make the point that “top-level” means what it says, and a value that is itself a whole list still counts as one key.
YAML for humans
JSON is built for programs talking to programs, and it grates the moment a human has to write it by hand: double quotes on every key, no comments, and a syntax error if you leave a trailing comma. YAML is the friendlier format people reach for when they are the ones editing the file, and the GitHub Actions workflow grading this very lab is written in it. yaml_to_obj is one call, yaml.safe_load, and it hands back the same ordinary dicts and lists json.loads would:
>>> yaml_to_obj('title: My Blog') == {'title': 'My Blog'}
True
Always safe_load, never plain load: the unsafe version can build arbitrary Python objects out of a document, which is a security hole the moment the document came from someone else.

The Norway problem. YAML’s friendliness is bought with guesswork: it tries to infer the type of every bare value, and it sometimes guesses wrong. The famous case is that the bare word no is read as the boolean False, so a spreadsheet of country codes silently turns Norway’s code NO into False with no error to warn you. norway_value is a tiny function whose only job is to pin this behavior in a test: it parses country: no and returns the value YAML actually built.
>>> yaml_to_obj('country: no')
{'country': False}
When YAML surprises you like this, fall back on the trick from the last section: print(to_json(config)) and look at the values Python really constructed.
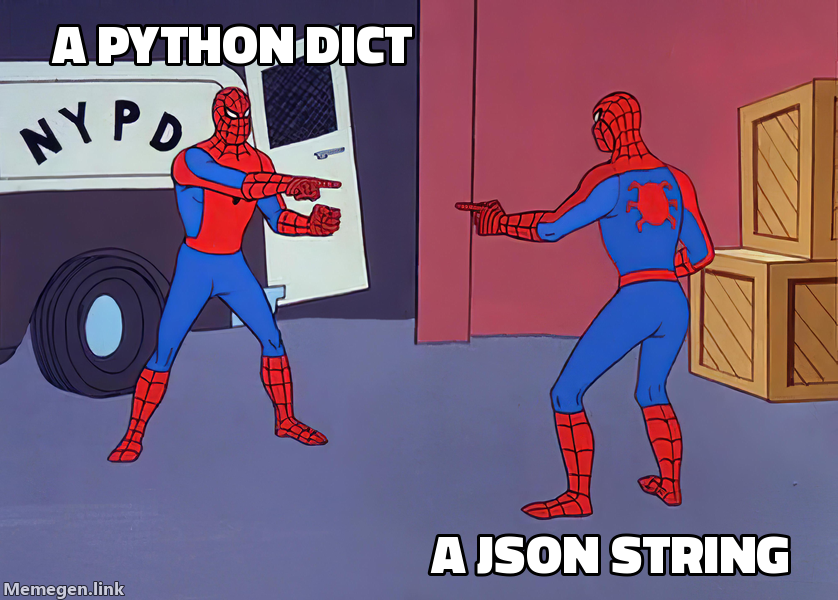
Meme:
yaml.safe_load('country: no')returns{'country': False}. YAML interpreted the name of a country as a Boolean.
TOML for config
TOML trades YAML’s guesswork for stricter, more predictable rules, and it is the config format of the Python world: every modern project carries a pyproject.toml describing itself. Python 3.11 added a reader to the standard library, tomllib, and it behaves like json.load. toml_get parses a TOML string with tomllib.loads and returns one top-level value:
>>> pyproject = '''
... name = "introcs"
... version = "1.0"
... port = 8080
... '''
>>> toml_get(pyproject, 'port')
8080
Two things to notice. The standard library only reads TOML; writing it back out needs a third-party package. And tomllib takes types exactly as written, so unlike YAML there is no Norway problem lying in wait: no stays the string it looks like. Values grouped under a [section] header sit one level deeper in the returned dict, so toml_get, which fetches top-level keys, is the first step into a real pyproject.toml, not the whole story.

CSV for tables
The other three formats can all nest, holding a list inside a dict inside a list as deep as you like. Plenty of data is not nested at all: a flat table of rows and columns, the kind of thing that belongs in a spreadsheet. For that the right format is the oldest one here, CSV, and three functions cover it. csv_to_rows reads CSV text into a list of dicts with csv.DictReader, one dict per row keyed by the header, which is exactly the shape our tweets already have:
>>> tweets = '''text,username
... hello,Trump
... world,Obama'''
>>> csv_to_rows(tweets) == [
...     {'text': 'hello', 'username': 'Trump'},
...     {'text': 'world', 'username': 'Obama'}]
True
rows_to_csv goes the other way, turning a list of row-dicts back into CSV text with csv.DictWriter. That writing direction is not a toy: it is literally the extra credit on Project 2, where you take the list of scraped listings and save it as a spreadsheet instead of JSON. json_to_csv_rows is the bridge between the two worlds, parsing a JSON array of flat records into the row form CSV wants.
CSV has two catches, and the lab makes you feel both. First, it has no types: every value comes back as a string, so the number 8080 arrives as '8080', which is CSV’s own little Norway problem. Second, and this is why CSV can never replace JSON, it cannot nest. There is no way to put a list inside a cell, so the moment a tweet carries a list of hashtags you have to flatten it or reach back for JSON.
🖼️ Meme: Excel opens your gene-list CSV and helpfully rewrites the gene
SEPT2as a calendar date. The Norway problem has cousins in every corner of the type system.
Where this shows up next
These functions are short, but every later API, configuration file, and database export depends on choosing and parsing the right format. Every call you make to an LLM in docchat and the agent project sends JSON and reads JSON back; the answer you want is one string a few keys deep in a json.loads-ed response, dug out with exactly the indexing you practiced here. The CSV writing direction is the Project 2 extra credit outright. And the configuration you will write by hand, the pyproject.toml that publishes your package and the YAML that drives your GitHub Actions, is TOML and YAML you can now read and edit without guessing.
There is one limit shared by every format in this lab, and it is what sets up the next unit. To find anything in a JSON or CSV file you load the whole file into memory and loop over it. That is fine for a few thousand tweets and hopeless for a few million: a single big JSON file is the wrong home for data at that scale. Next class we meet the tool built for exactly that problem, the database, and its language SQL, where the data stays on disk and you ask for the rows you want instead of reading all of them.
Submitting
This lab is graded like every other doctest lab: the tests either pass or they do not, and you resubmit until they are green. Work one function at a time, and run the tests from your terminal as you go:
$ python3 -m doctest lab_formats.pySilence means every test passed; while a test is failing, the output shows exactly what it Expected and what it Got, so you always know which function to fix next. Your fork’s GitHub Action runs the same doctests on every push, so commit and push once the file is silent:
$ git add lab_formats.py
$ git commit -m 'complete lab_formats.py'
$ git push
Enable Actions on your fork, and after your next push the tests badge turns from red to green once all doctests pass. There is no partial credit; that green badge is the whole grade. When it is green, submit the URL of your fork on Gradescope.